Rustic Bedside Table
A great looking bedside table made from 2x4's
Watch the full build in this video.
After using some antique bedside tables for some time my wife decided it was time to upgrade. This means that she went to pinterest and found the bedside tables of her dreams. It also means that it was time for me to head out to the shop and start building.
Materials and Cuts
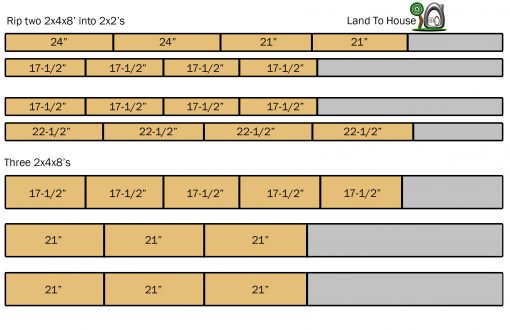
You will need five 2x4x8’s untreated boards for this build. The above cuts will give you all that you need for a single bedside table. It is possible to purchase 2×2 lumber but for this build I use 2×4’s and rip them down.
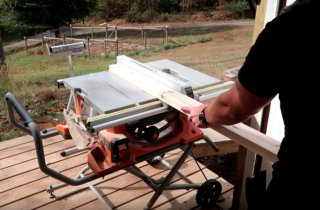
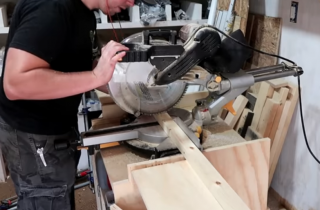
Step 1: Assemble the Top
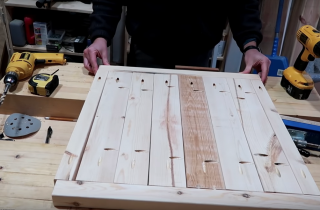
The top will be assembled with:
Six 2x4x21″
Two 2x2x21″
Two 2x2x24″
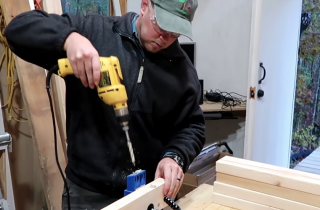
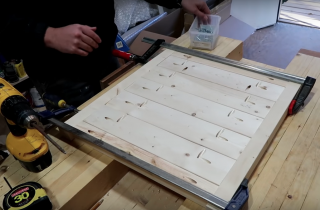
Pocket holes are used to keep the parts together. It can be very helpful to use clamps to hold the parts together as you screw the pocket holes in.
You will need to place a single pocket hole screw on the end of each 2×4 and on the end of the 2x2x21. Also in the middle of the 2×4’s you will need pocket holes so that each board will connect to the next.
Step 2: Build the base shelf
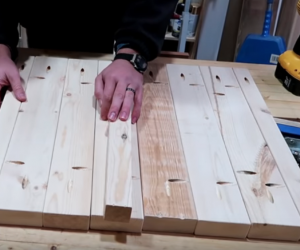
The shelf is much like the top but without the two longer side pieces.
Five 2x4x17.5″
Two 2x2x17.5″
Once again use pocket holes to connect these boards. The last 2×4 needs to have pocket holes in both directions to attach the last board.
Step 3: The legs
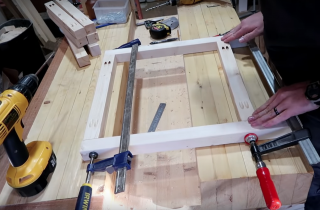
The legs are assembled with 2x2x22.5″ as the sides and 2x2x17.5″ on the top and bottom. Leave 4″ on the bottom for the shelf to attach and for floor clearance.
Once the legs are together its time to get them installed to the top. Turn the top with top facing up. Place the legs on the top with the additional 2x2x17.5″ boards. Use 2-1/4″ screws to connect the legs to the top.
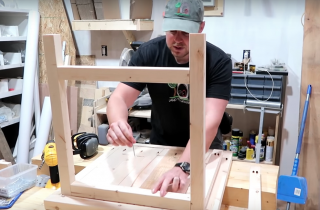
Step 4: Install the base shelf
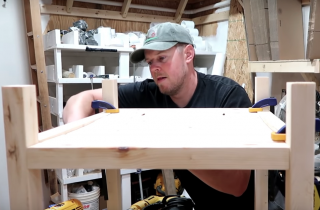
The shelf is a little tricky to install. I used clamps to hold the shelf in place while I installed the pocket hole screws.
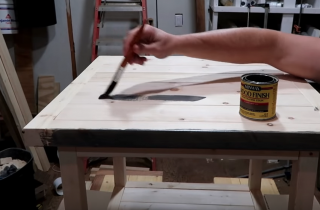
Step 5: Sanding and Stain
To make the table look polished I sand the boards and then apply a nice gray stain.
Step 6: Decorative corners
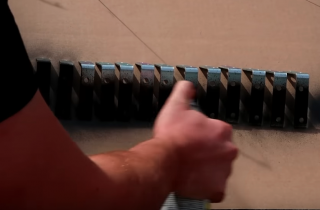
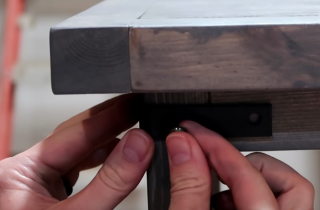
There are 8 brackets for the corners of the legs. Two on each leg. The brackets are typical silver L brackets painted black with spray paint. Upholstery tacks were used to keep the brackets in place.
Conclusion
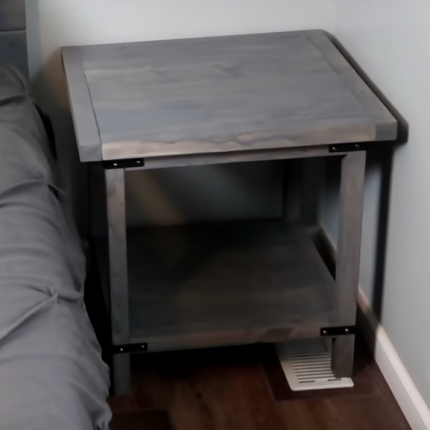
The Rustic DIY bedside table is a stylish looking table great for any bedroom. There are a few things that I would recommend when making this table.
1. Clamps are your friends. Use them to keep the wood from sliding out of place when you use pocket holes.
2. Sand the wood before assembly.
3. The top and shelf are prone to warping as you install the pocket hole screws. Use some clamps to keep this locked down to the workbench.
4. If possible use a stop block when making cuts. This will help keep the legs the same length so there is no wobble.
This build design is originally from: Rogue Engineer
Rustic Square Bedside Table

